Dream & Truth: Maya 3D Animation
• 3D Animation Course Project
• #Maya #Final Cut Pro
• 2′34″
The story is about whether the girl has fulfilled her dream or not. The girl doesn’t say a word but breathes in almost every shot, which symbolizes her disparate kinds of mood.
BUILD
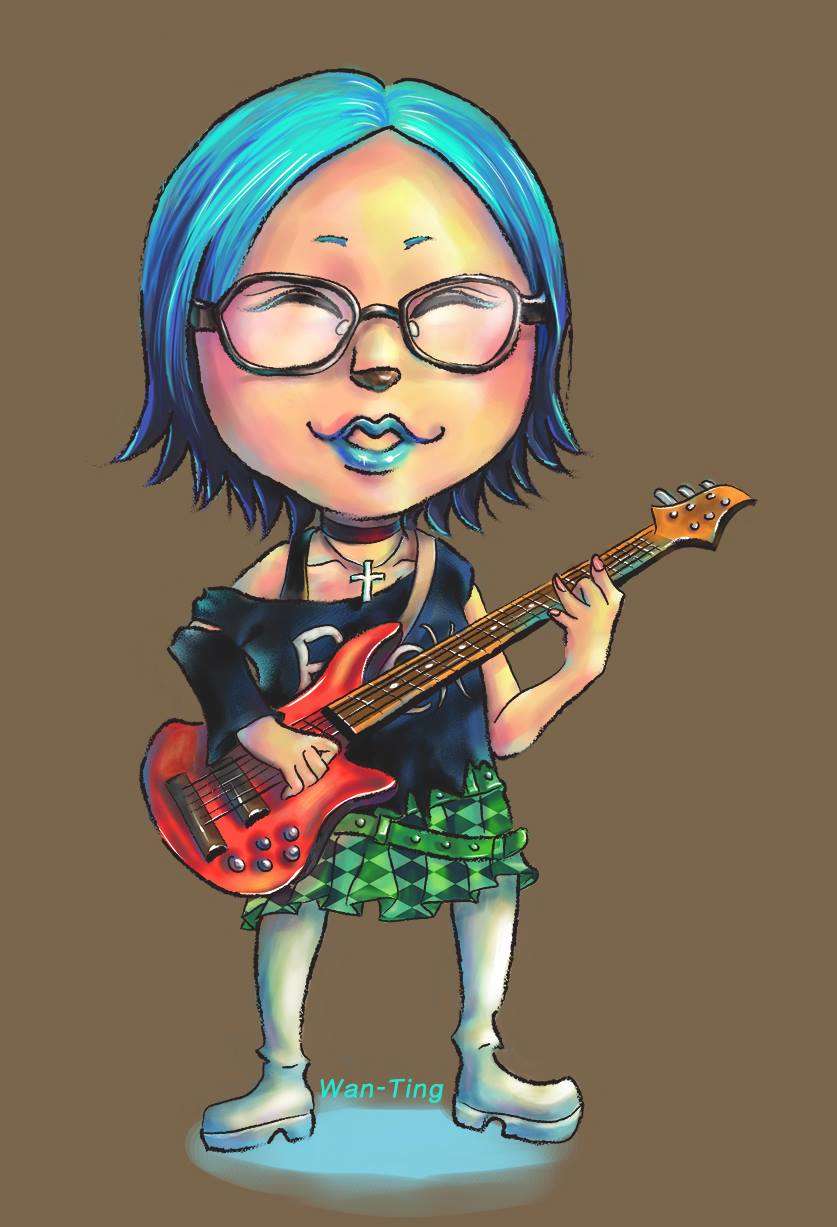
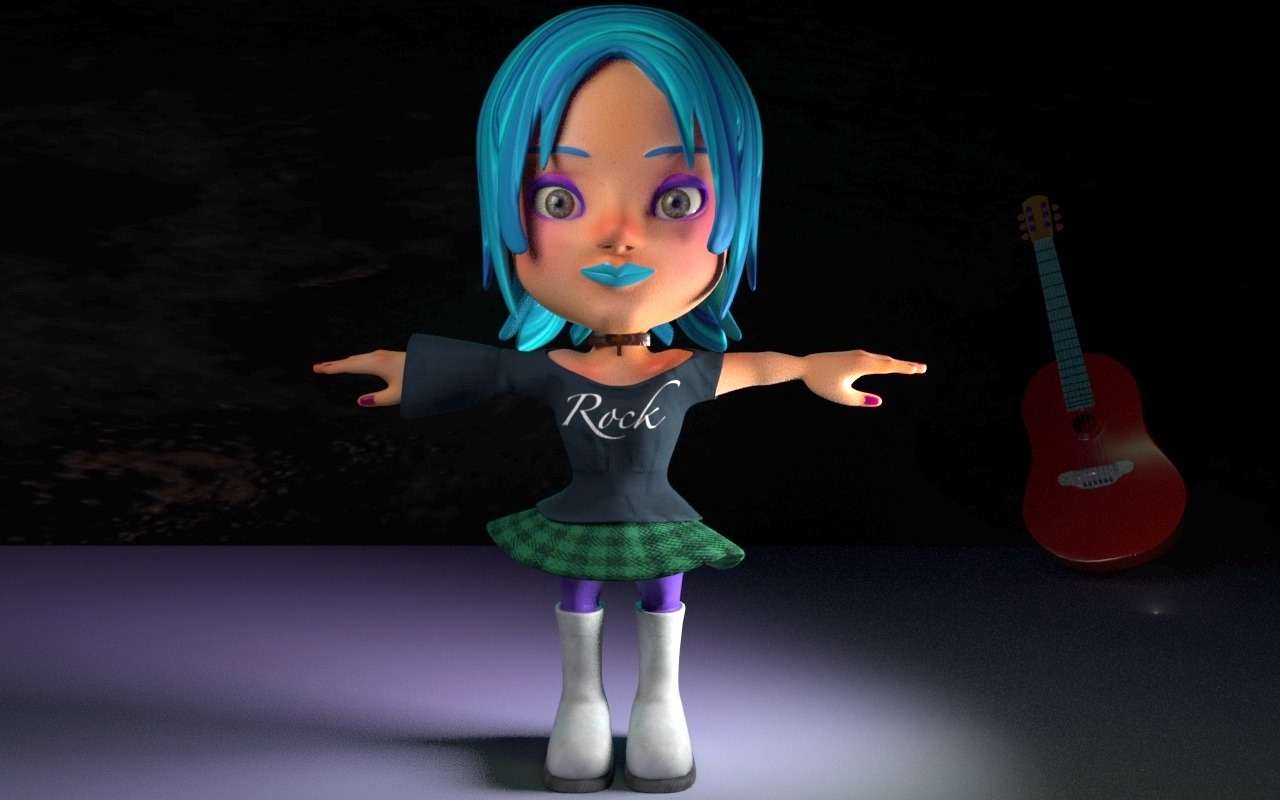
The 3D Animation course, an academic-year course, I participated started from September 2019 to July 2020. During the fall semester in 2019, I modeled my first complete 3D character from scratch by following the illustration I designed in 2014. After that, I rigged the character to make it move and do some simple animations shown below. 3D rigging is the process of creating a skeleton for a 3D model so it can move. Most commonly, characters are rigged before they are animated because if a character model doesn’t have a rig, they can’t be deformed and moved around:
Exercise – Walk
Exercise – Grab
Exercise – Pose to Pose
For the next spring semester in 2020, in order to create a one-scene animation, firstly, I came up with my narrative and used handy tools such as sketch combined with some ready-made pictures to form a rough 2D animatic which is a preliminary version of a film, produced by shooting successive sections of a storyboard and adding a soundtrack:
2D Animatic
The story is about whether the girl has fulfilled her dream or not. The girl doesn’t say a word but breathes in almost every shot, which symbolizes her disparate kinds of mood. I then continued to model and texture other static items (including a guitar, the fragments of a broken guitar, a syringe, a rope, a spoon, a chair, a door, stage curtains, and a plastic bag with powder inside) and then animate the character with rough movements to test which shot is necessary and thus needs to be detailed later after finishing the 2D animatic. Before going deep into the keyframing part, I constructed a 3D blocking (or so-called stepped animation) which is an animation technique in which key poses are created to establish timing and placement of characters and props in a given scene or shot:
3D Blocking
Finally, after detailing the animating and modeling parts, I set up lights for emphasizing diverse atmospheres, designed the congratulation animation for the screen projection, and then exported the most time-consuming videos, which is called the rendering part. It took me around ten days to render this two-minute animation with the 1280 x 720 resolution. For the last step, I put all the rendered videos of shots together and edited their speed and sound effect to form the ultimate entire animation as shown in the top video.
TOOLS
- Maya: modeling, rigging, animation, and rendering
- Substance Painter: items and character texturing
- Adobe Premiere: image sequence exporting
- Final Cut Pro: video editing and compositing
- Sound Effects: https://freesound.org