Nostalgic: Metal Casting Practice
• Metal Sculpture. 10/2019
• Metal Casting 101 Course Project.
• #Metal Casting #3D Printing
• 15(H)*15(W)*15(D)cm
• Metal Casting 101 Course Project.
• #Metal Casting #3D Printing
• 15(H)*15(W)*15(D)cm
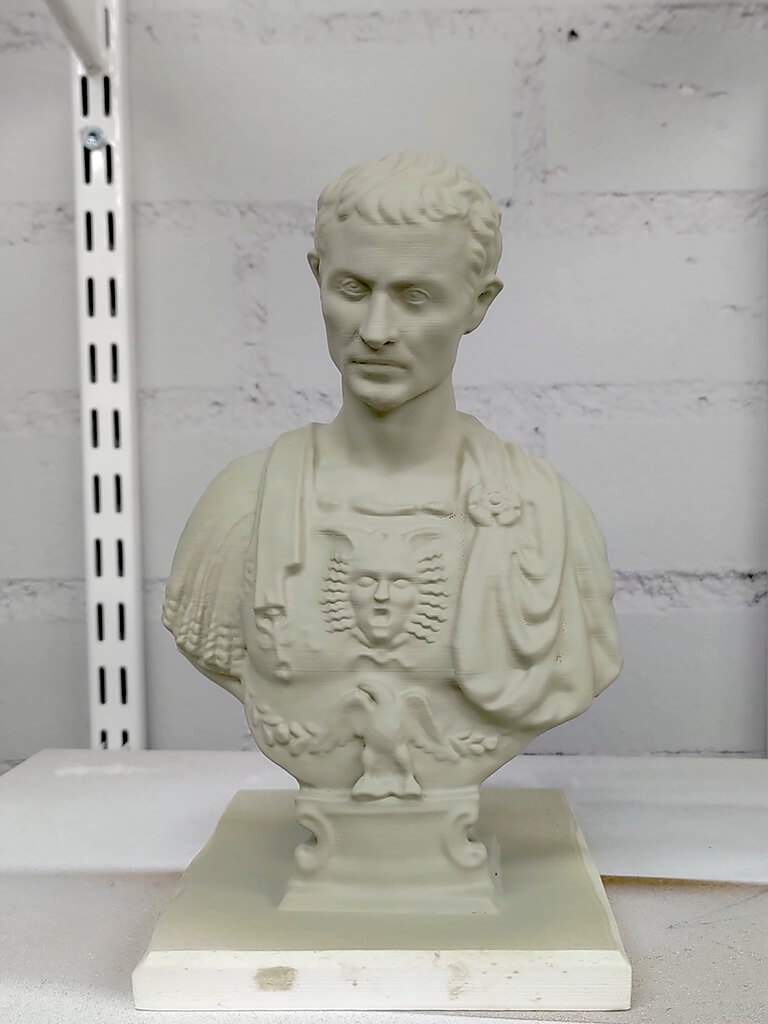
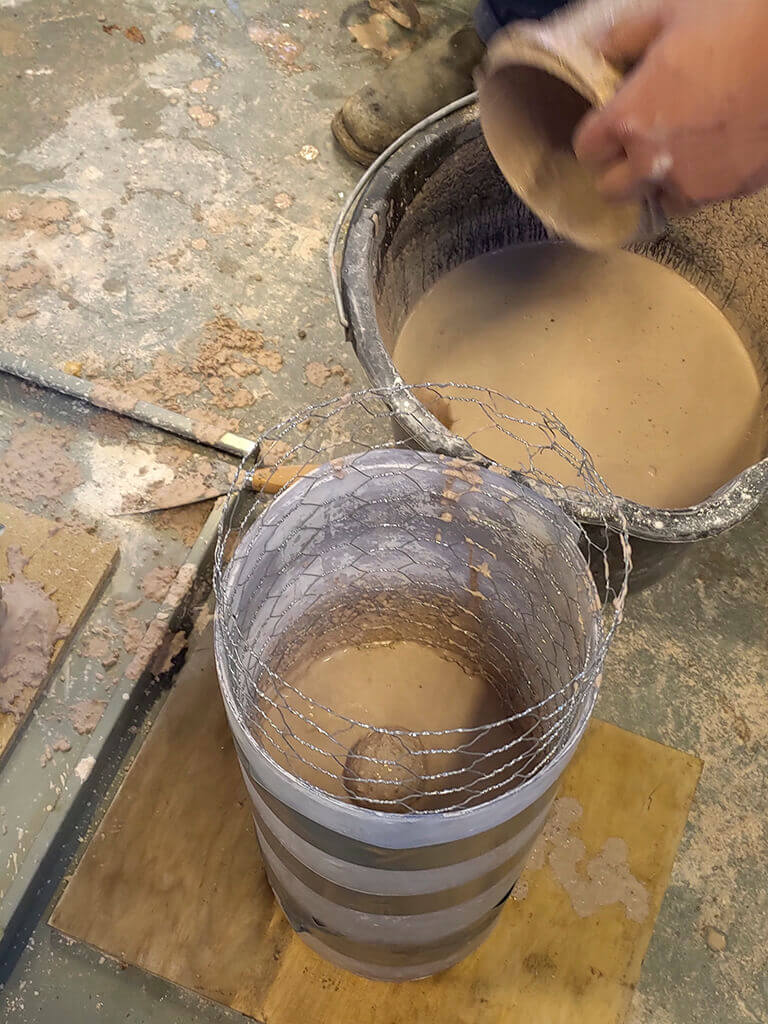
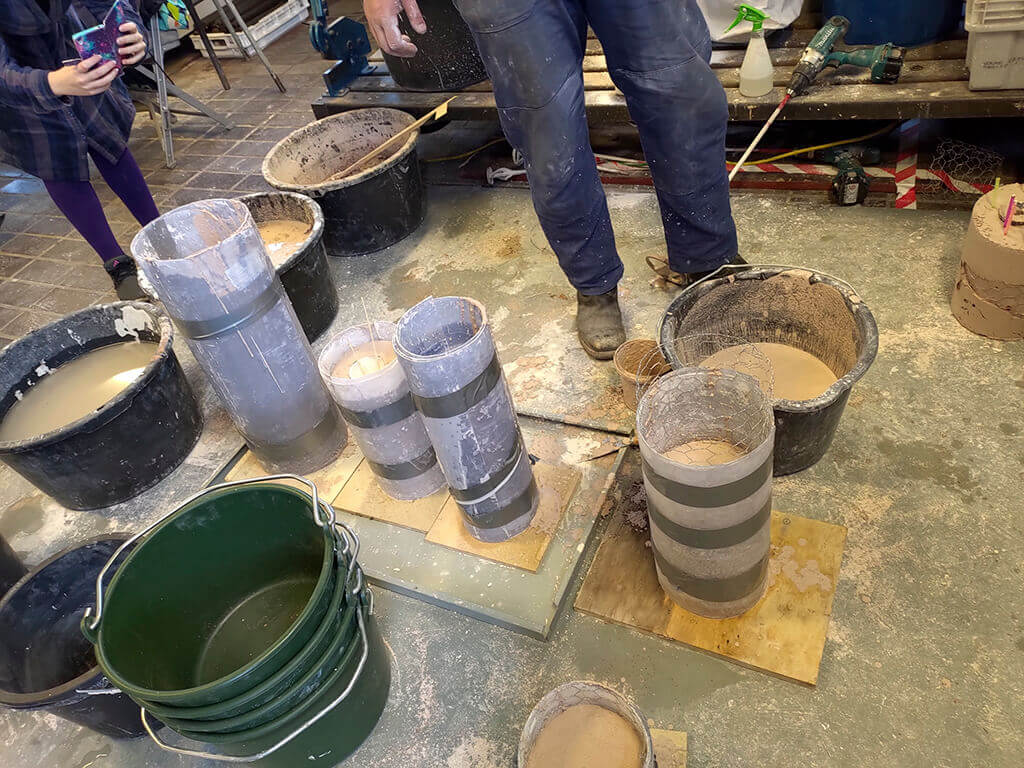
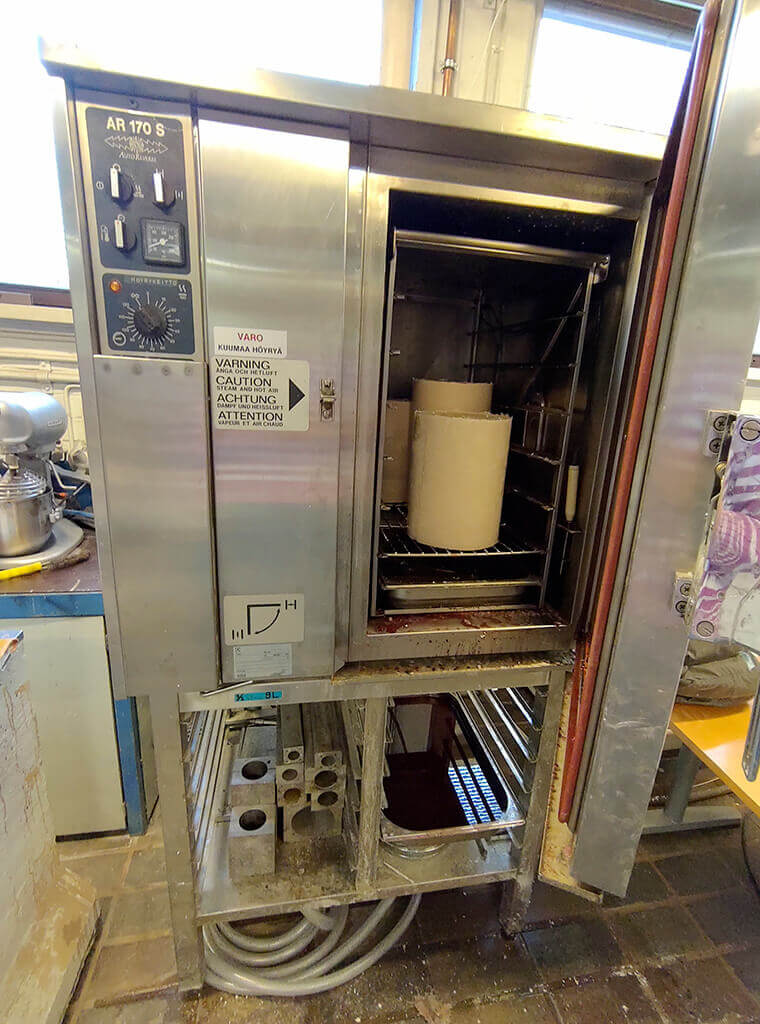
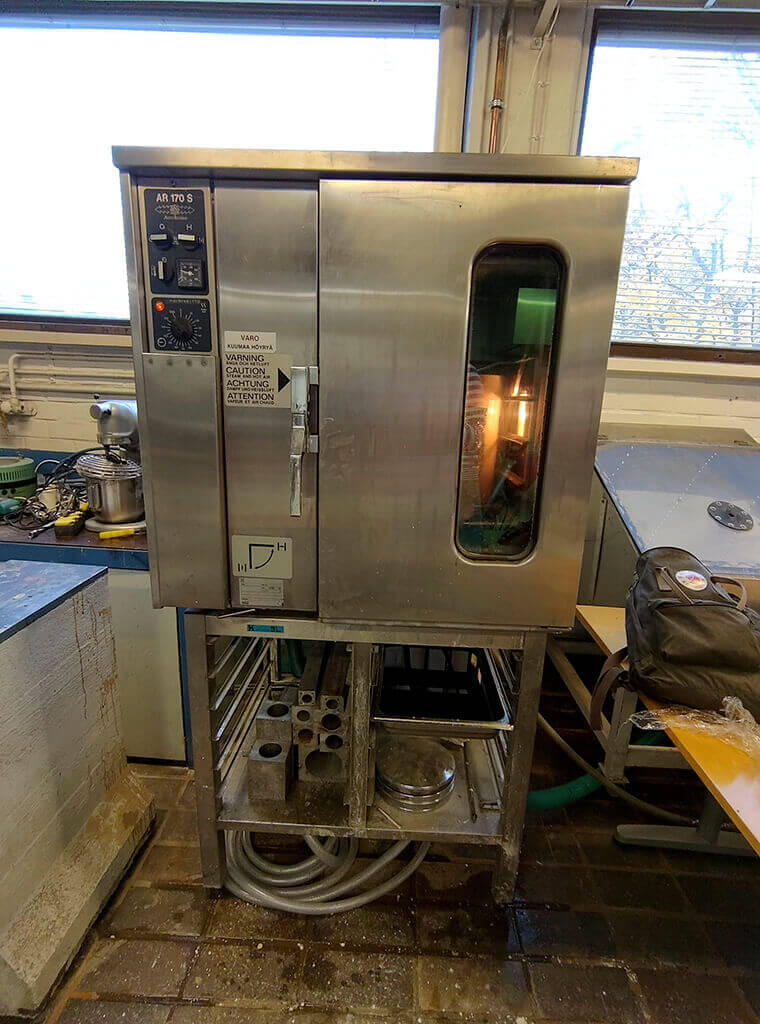
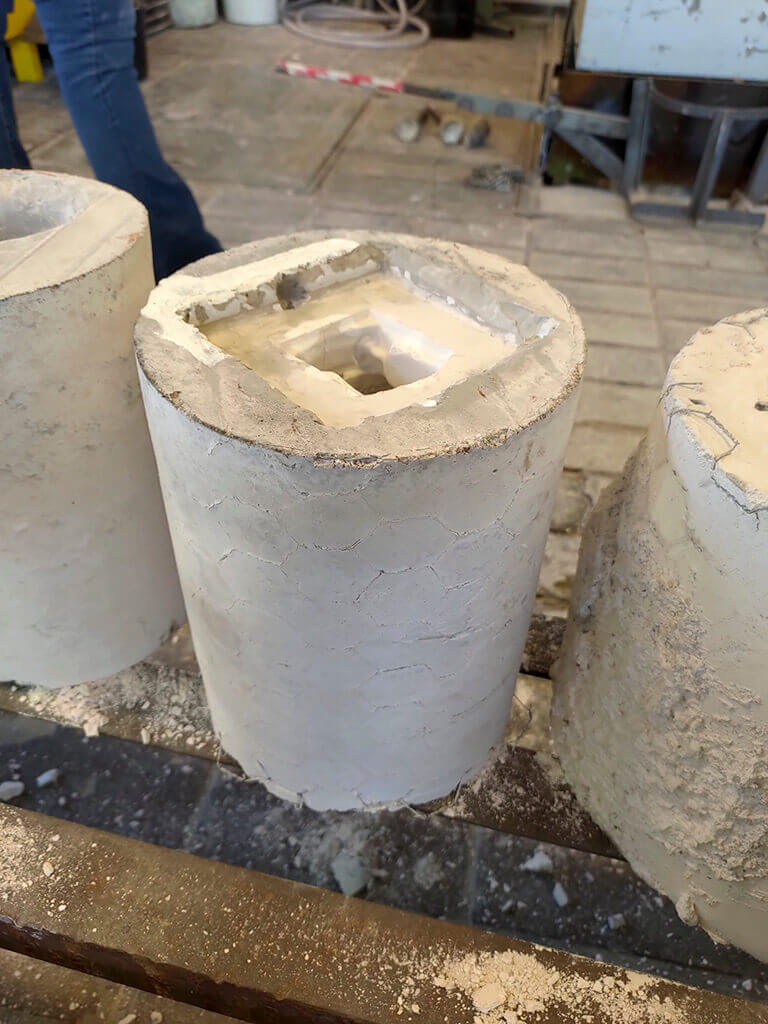
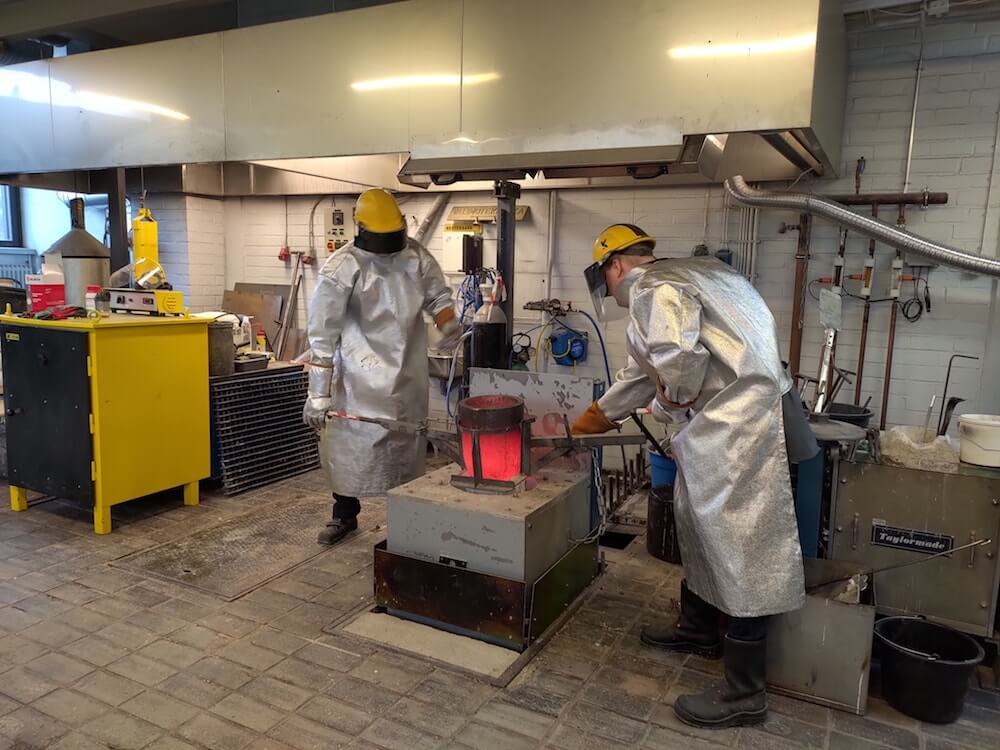
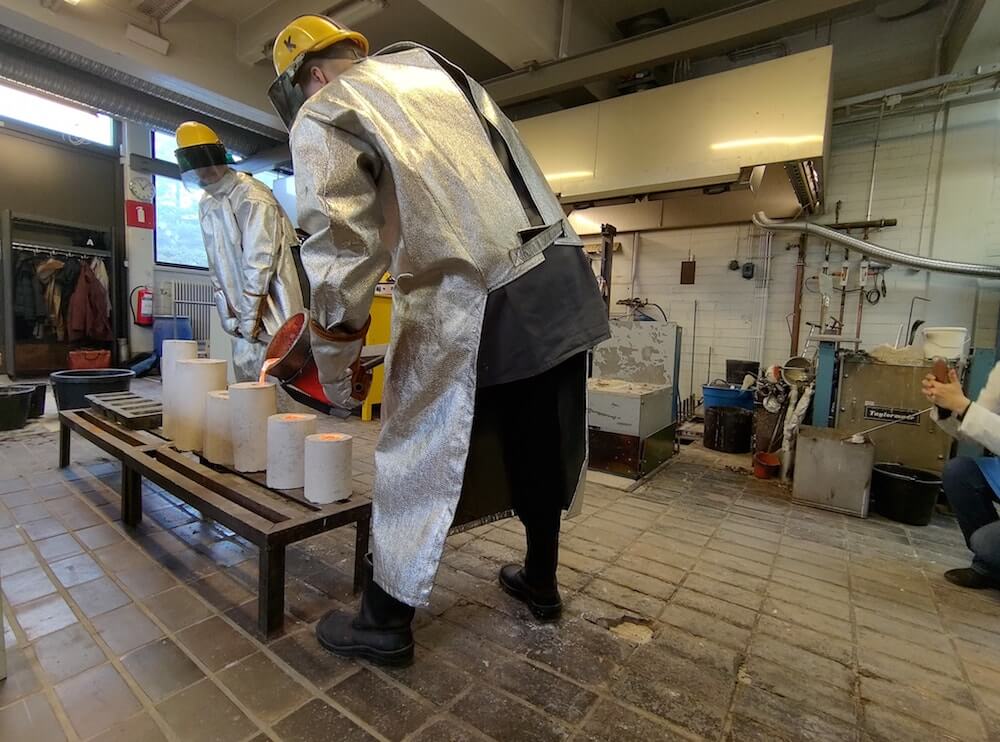
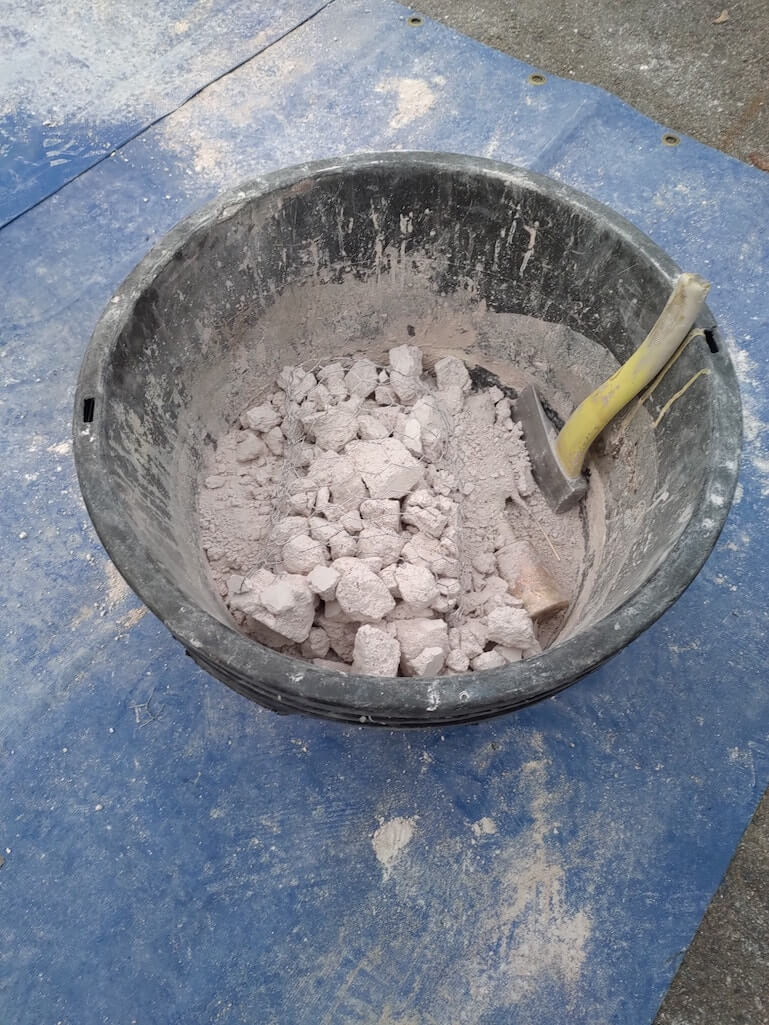
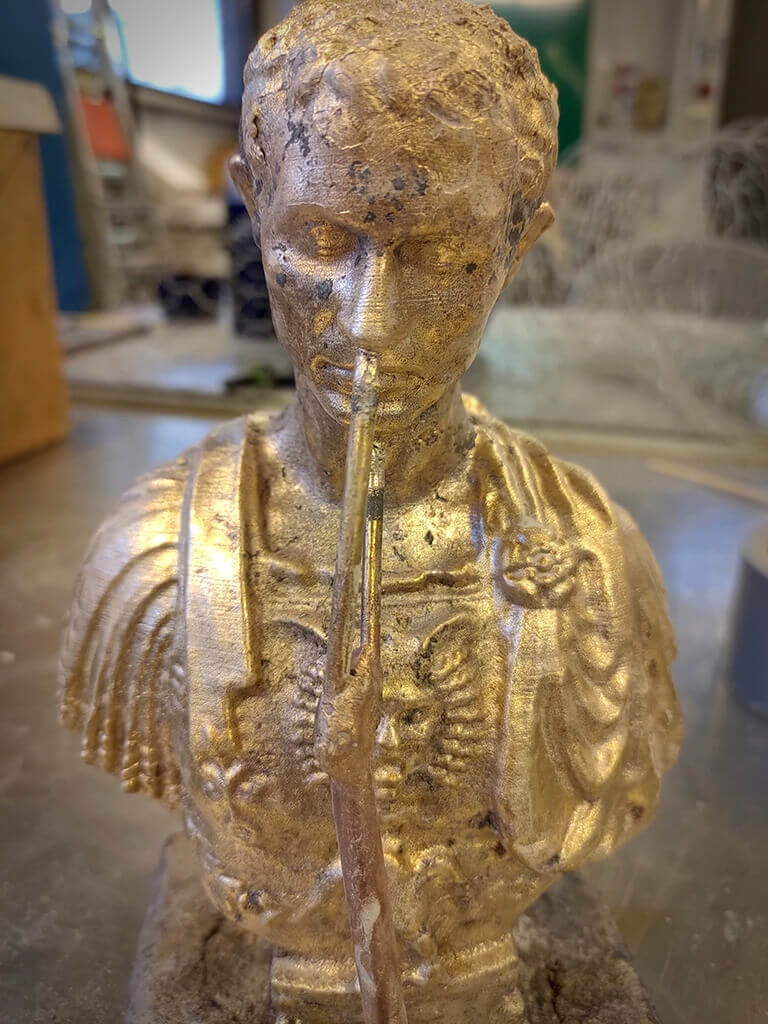
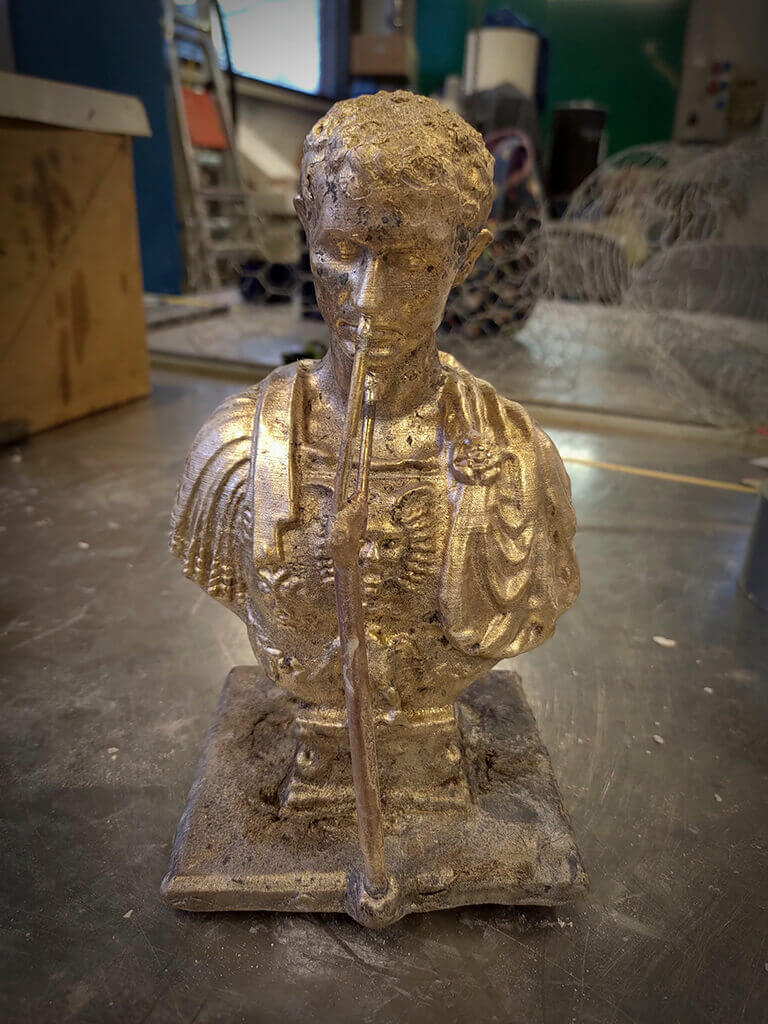
“Metal Casting 101″ is one of popular courses in ARTS school of Aalto University. During its workshop week, I cast the final metal sculpture from an open source 3D printed model as a prototype which features obvious layer lines. The weight of the15-cubic-centimeter sculpture is about 3 kg. Although it took me a lot of time to polish the metal, I still had fun and gained special experience from the course. Looking forward to apply this casting technique to my future artwork.
")
")
")
")
")
")